Restoration of a Certification Authority Certificate with Hardware Security Module (HSM)
The following describes how to restore a CA certificate with a hardware security module (HSM).
Restoring the certification authority certificate may be necessary for the following reasons:
- Restore a certification authority from a backup
- Migration of the certification authority to a new server
- Emergency signing of the CRLs on another computer
Restoration of a CA certificate with a software key is fundamentally different and is described in this article .
For the following procedure, it is necessary as preparation that the key storage provider belonging to the hardware security module is already installed and set up. Access to the key material from the target computer must therefore already be guaranteed. Since this procedure differs depending on the HSM manufacturer, it is not described here. The documentation of the respective HSM manufacturer must be used for this.
If multiple CA certificates are to be restored, the following steps must be repeated accordingly for each certificate.
Implementation
Do you know TameMyCerts? TameMyCerts is an add-on for the Microsoft certification authority (Active Directory Certificate Services). It extends the function of the certification authority and enables the application of rule sets to realize the secure automation of certificate issuance. TameMyCerts is unique in the Microsoft ecosystem, has already proven itself in countless companies around the world and is available under a free license. It can be downloaded via GitHub and used free of charge. Professional maintenance is also offered.
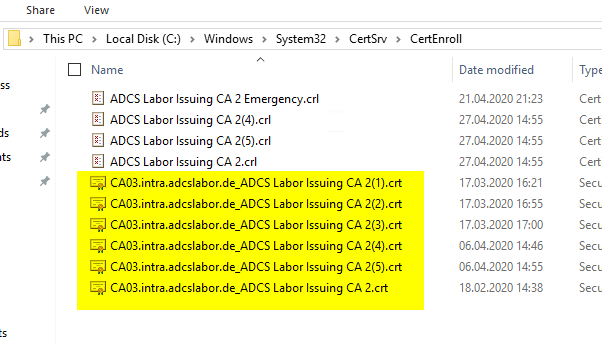
To restore the CA certificates, their version without the private key is required - i.e., for example, the version stored in the Authority Information Access (AIA) store. The certificates are located on the source system under C:\Windows\System32\CertSrv\CertEnroll.
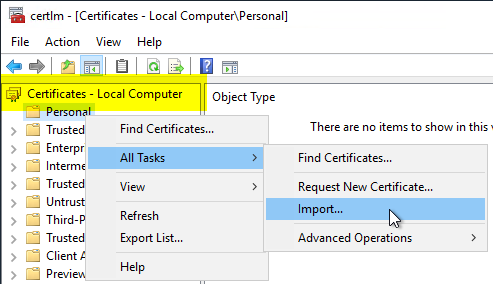
On the target computer, open the computer account certificate management console (certlm.msc). Right-click on "Personal", then "All Tasks" - "Import...".
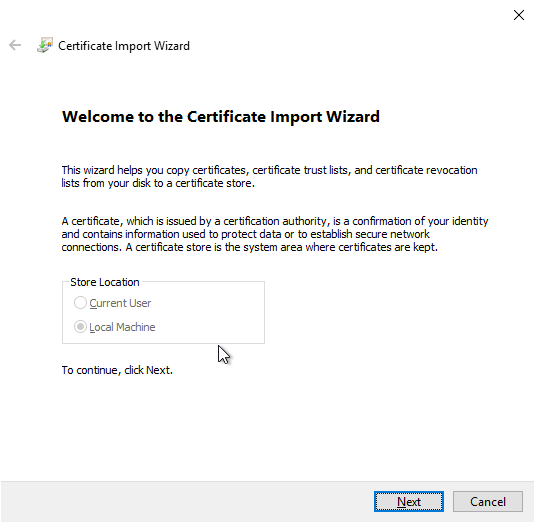
In the next screen, "Next" is clicked.
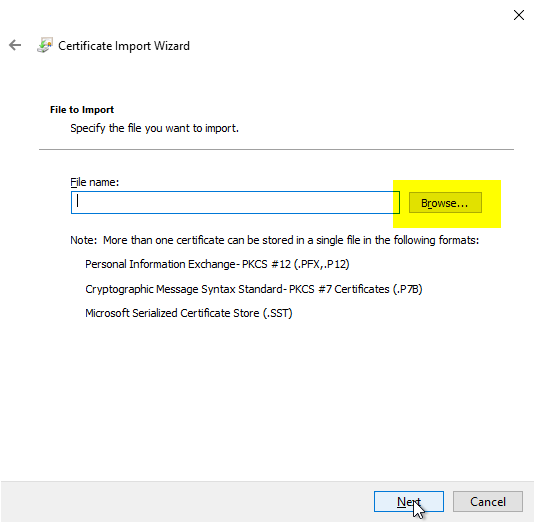
With "Browse..." the backup file is now selected.
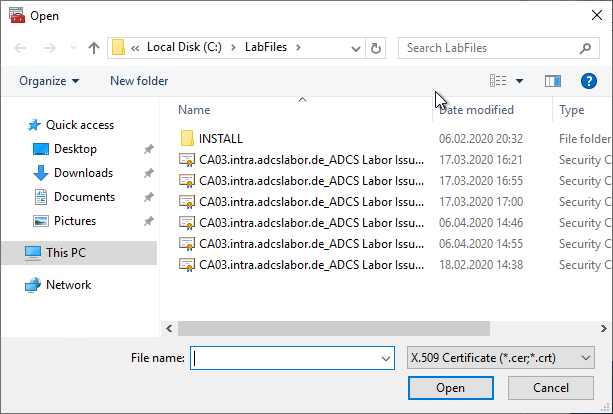
Now the CA certificate to be restored is selected.
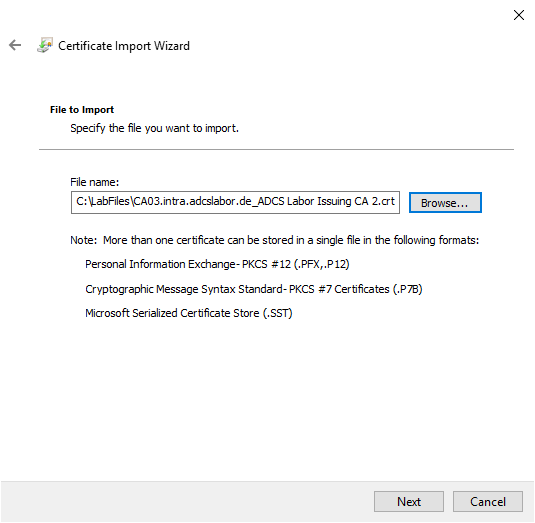
Now the next dialog can be called with "Next".
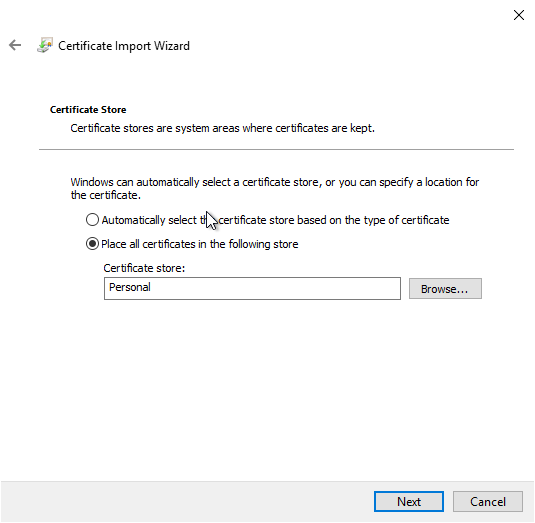
The default selection ("Personal") for saving the certificate can be kept.
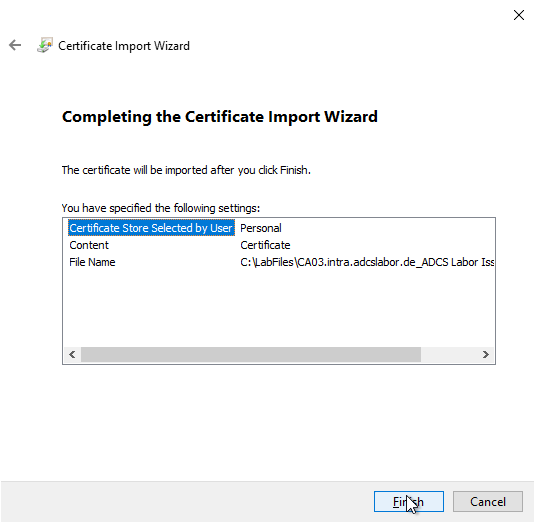
Click on "Finish" to restore the CA certificate.
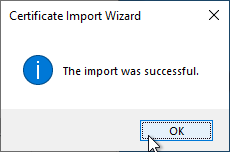
If the import was successful, a corresponding message is generated.
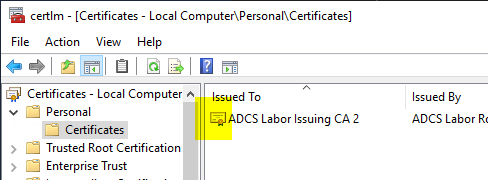
It should be noted that, as expected, the certification authority certificate cannot yet access its private key. This must now be connected in the next step.
First, the SHA1 fingerprint (thumbprint) of the certificate is required. This can be identified via the certificate properties dialog or by the following Windows PowerShell command:
Get-ChildItem -Path Cert:\LocalMachine\My\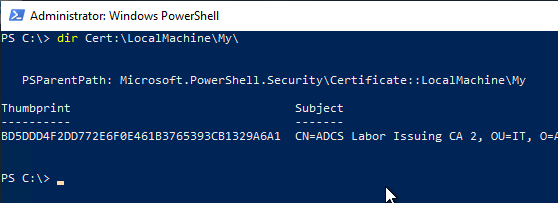
Now the private key must be linked to the certificate identified by the fingerprint. This must be done in the NT AUTHORITY\SYSTEM security context. There are several ways to switch to this security context:
- Create a scheduled task that runs under SYSTEM and executes a script. This method has the advantage that no third-party programs need to be executed.
- Switch to the system context via psexec .
In the following the method with psexec is described. You can switch to the system context with the following command:
psexec -s -i cmd.exe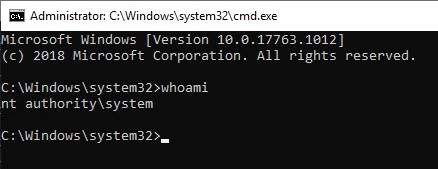
The following command line command is then executed:
certutil -repairstore my {Fingerabdruck}If the command was successful, this is output on the command line.
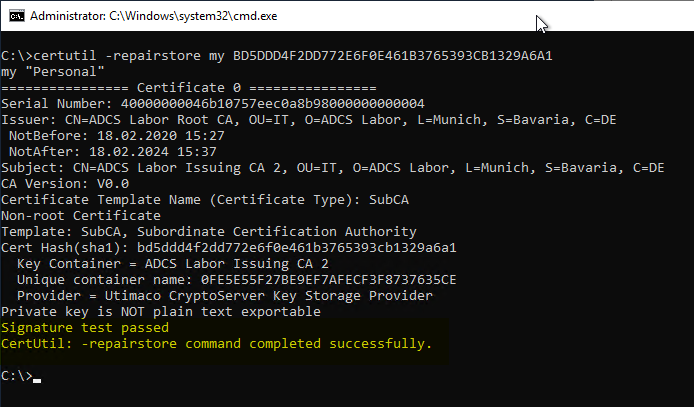
If you now refresh the view in the management console for certificates of the computer account, you should now see that there is a private key to the certificate.