Since Windows Server 2008, the installation of the Certification Authority role consists of two steps:
- Installing the role files. This step is described below.
- Configuration of the Certification Authority role.
Implementation
Do you know TameMyCerts? TameMyCerts is an add-on for the Microsoft certification authority (Active Directory Certificate Services). It extends the function of the certification authority and enables the Application of regulationsto realize the secure automation of certificate issuance. TameMyCerts is unique in the Microsoft ecosystem, has already proven itself in countless companies around the world and is available under a free license. It can downloaded via GitHub and can be used free of charge. Professional maintenance is also offered.
The certification authority role files can be installed in two different ways.
- Via Windows PowerShell (recommended)
- Via graphical user interface (GUI)
Local administrator permissions on the target system are sufficient for installing the role files.
Installation via Windows PowerShell
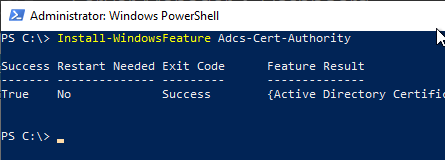
The role files for the certification stele can be installed using the following Windows PowerShell command:
Install-WindowsFeature Adcs-Cert-Authority
Installation via graphical user interface (GUI)
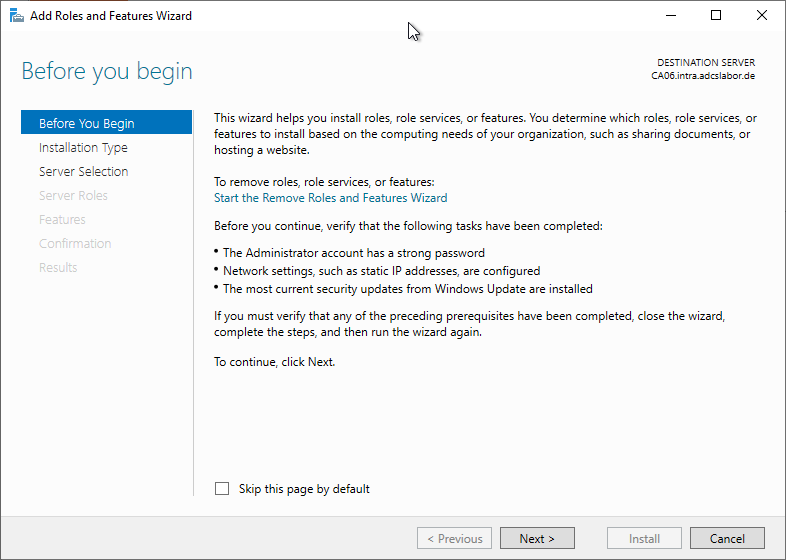
The graphical installation is done via the Server Manager. After this has been started, "Add roles and features" is clicked on the start page.

In the next screen, "Next" is clicked.
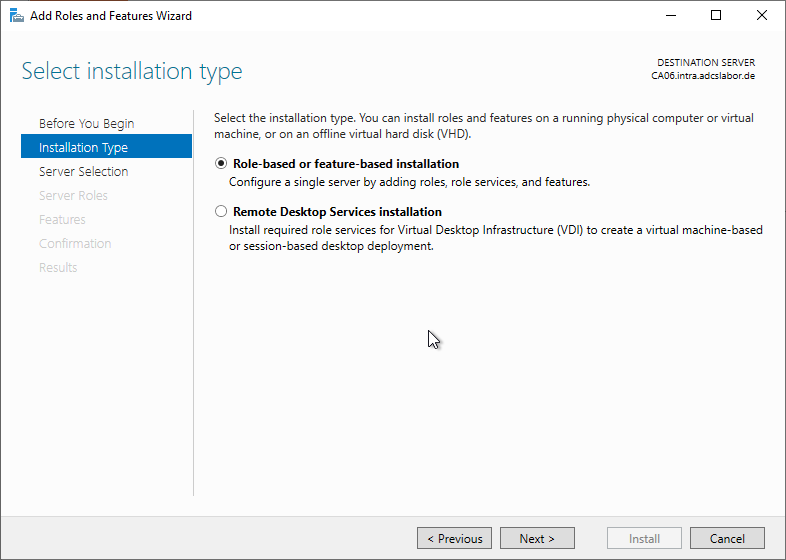
In the next screen, "Next" is clicked.
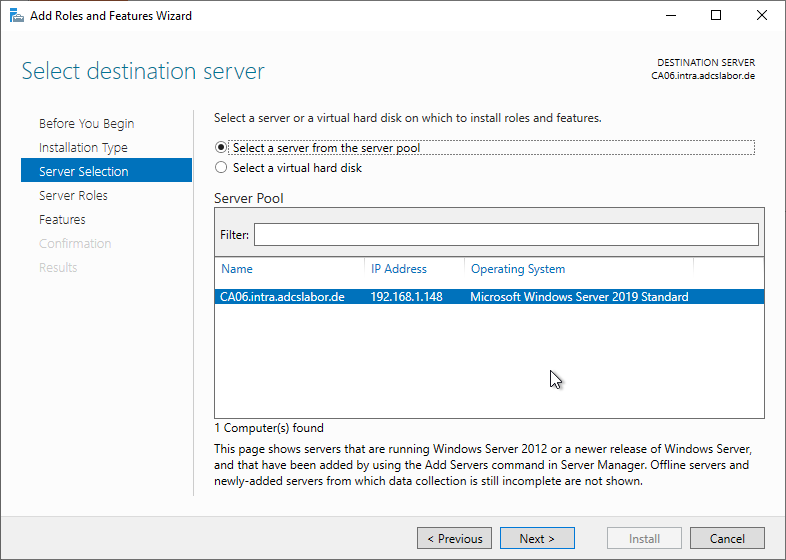
In the next screen, "Next" is clicked.
For "Server Roles", "Active Directory Certificate Services" is selected.
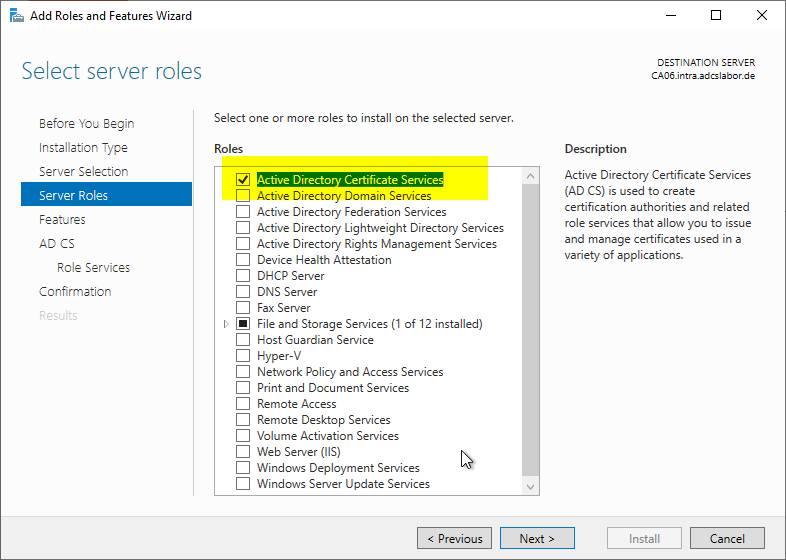
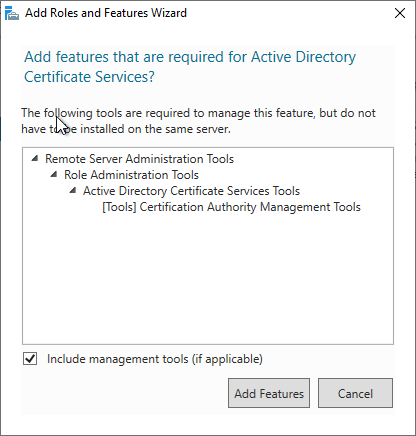
Now a dialog appears which prompts for the installation of additional dependencies, which is acknowledged with "Add Features".
In the next screen, "Next" is clicked.

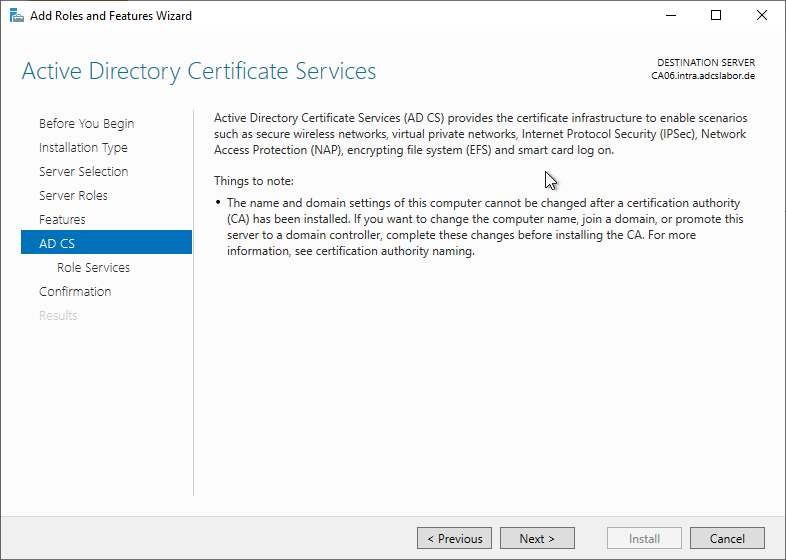
In the next screen "Next" is clicked. It is pointed out here that the server name cannot be changed after the installation of the certification authority (which is not quite correct: the server name can very well be changed afterwards with the correct procedure).
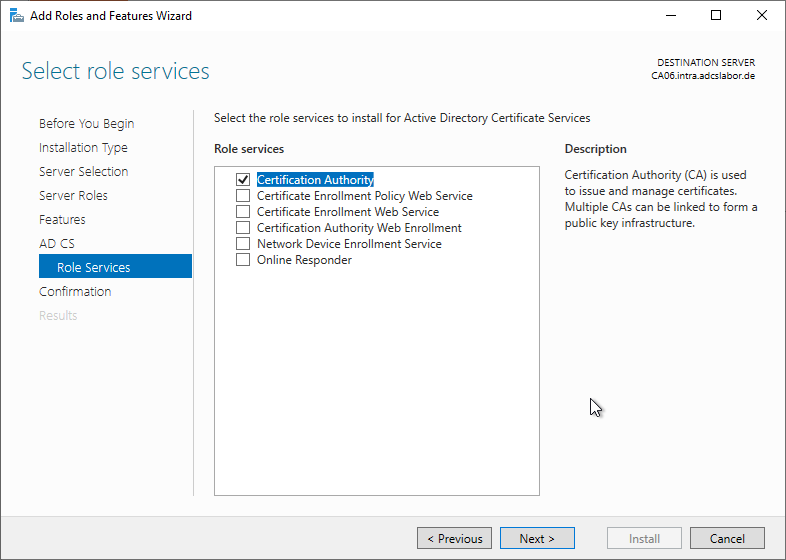
In the next screen "Next" is clicked. The default preselection "Certification Authority" can be kept.
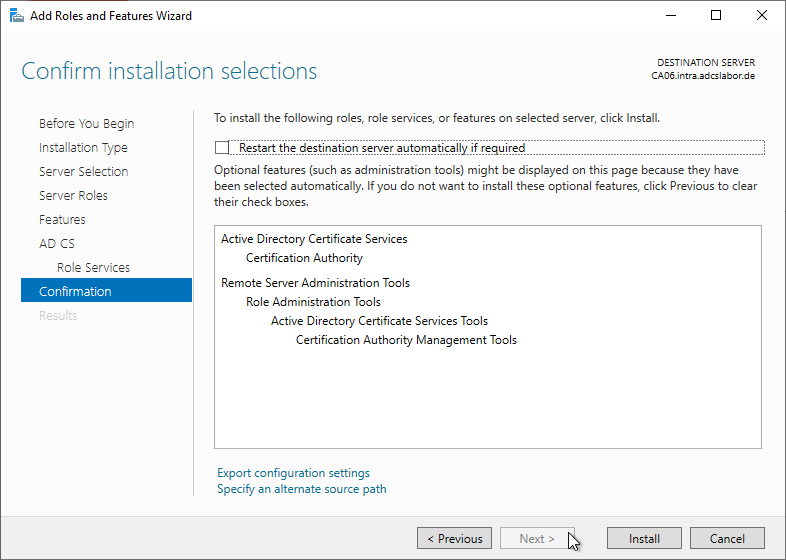
Now the installation of the role files can be started with "Install".
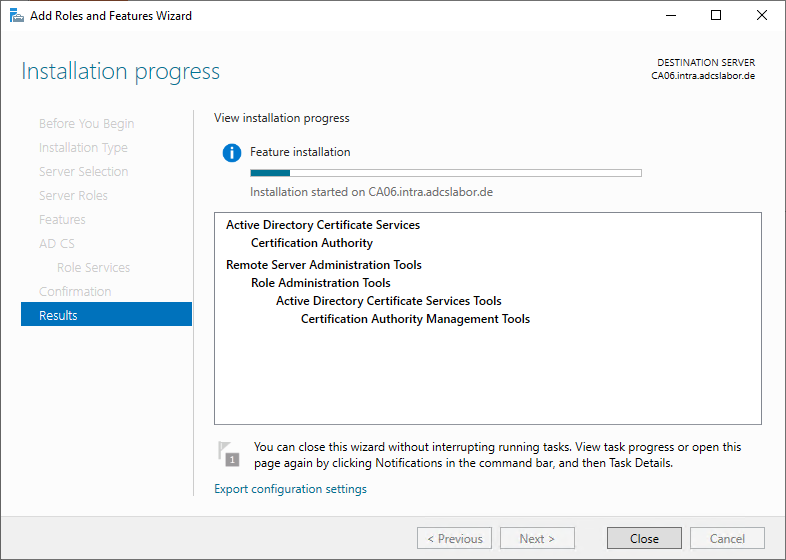
The success of the installation of the role files is now displayed.
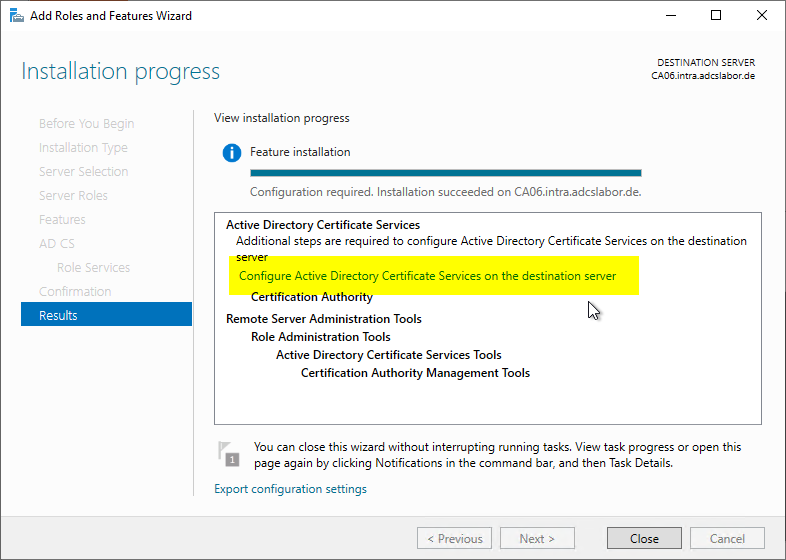
The next step is now to configure the certification authority role. The procedure differs depending on the project:
- Installation of a standalone root certification authority (Standalone Root CA)
- Restoring a certification authority from backup
Comments are closed.